First-run setup
The first time you sign in with the administrator account you created during installation, KPImailer walks you through a 3-step setup wizard before showing the dashboard: license & company details, connecting Qlik Sense, and email delivery.
1. License & company details (Step 1 of 3)
Section titled “1. License & company details (Step 1 of 3)”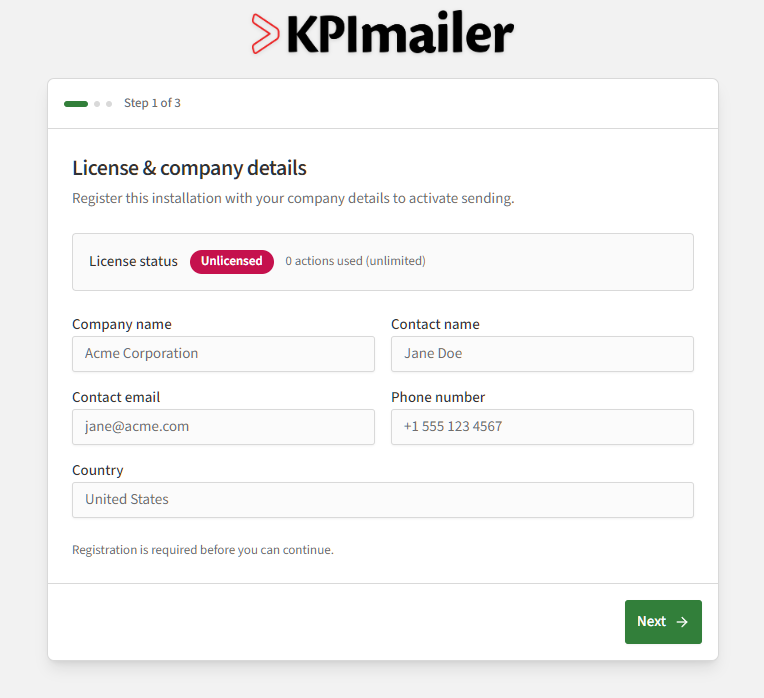
Fill in Company name, Contact name, Contact email, Phone number, and Country, then select Next. Relevance Management uses these details for licensing and support - registering here is what activates your license, so this step can’t be skipped.
2. Connect Qlik Sense (Step 2 of 3)
Section titled “2. Connect Qlik Sense (Step 2 of 3)”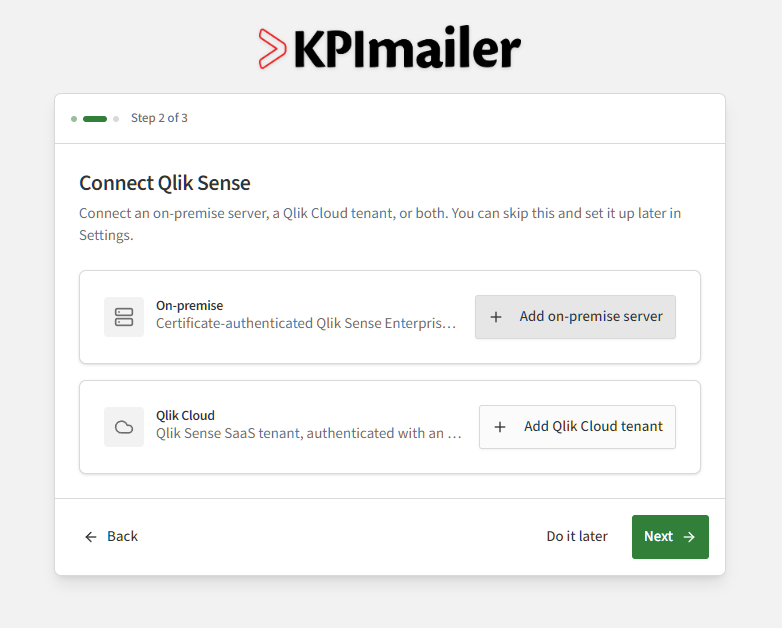
Choose Add on-premise server, Add Qlik Cloud tenant, or both. Unlike Step 1, this step is optional - select Do it later to connect Qlik Sense afterwards from Settings → Qlik servers instead.
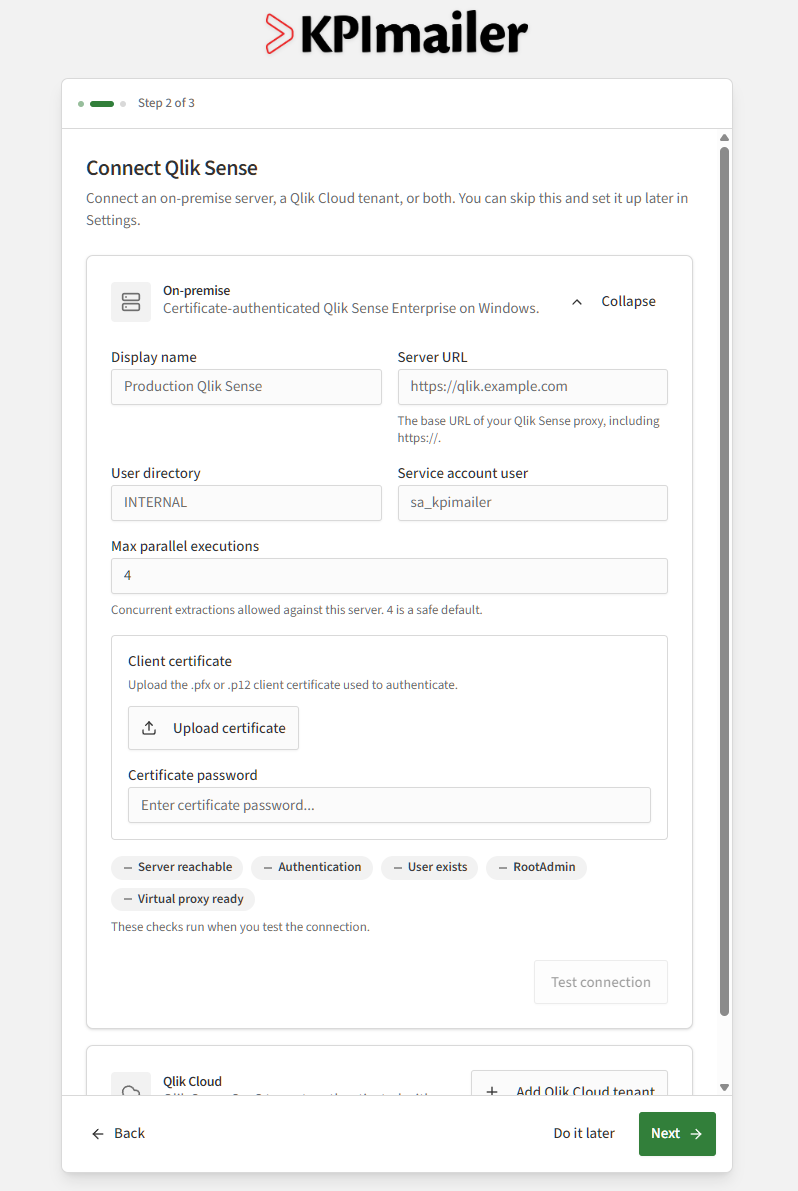
For an on-premise Qlik Sense Enterprise server, give it a Display name and Server
URL, the User directory and Service account user KPImailer signs in as, and upload
its client certificate (.pfx/.p12, exported from the QMC - see Installing → Exporting a
client certificate).
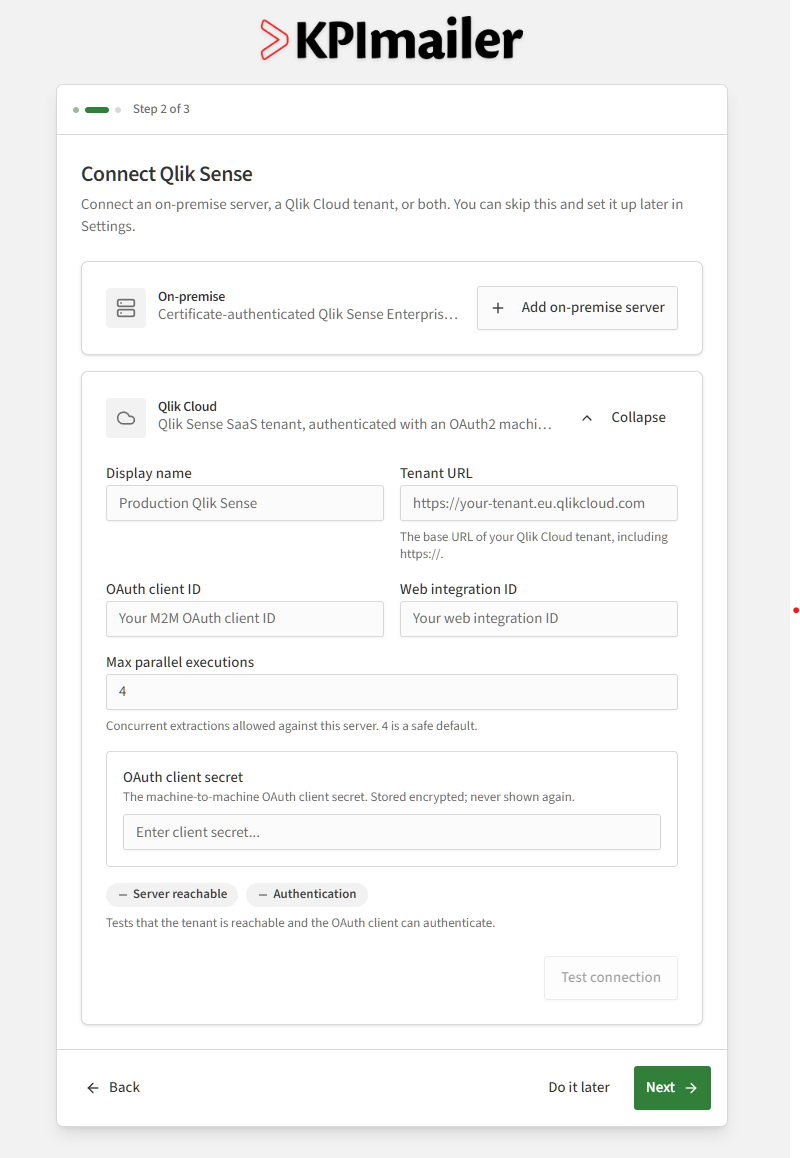
For a Qlik Cloud tenant, give it a Display name and Tenant URL, then the OAuth client ID, Web integration ID, and OAuth client secret from the OAuth client and Web integration you create in that tenant - see Qlik servers → Setting up Qlik Cloud access for the exact steps in Qlik Cloud, including the minimum privileges to grant.
Either way, select Test connection before moving on - see Qlik servers for what each check verifies, and for editing or rotating credentials afterwards.
3. Configure email delivery (Step 3 of 3)
Section titled “3. Configure email delivery (Step 3 of 3)”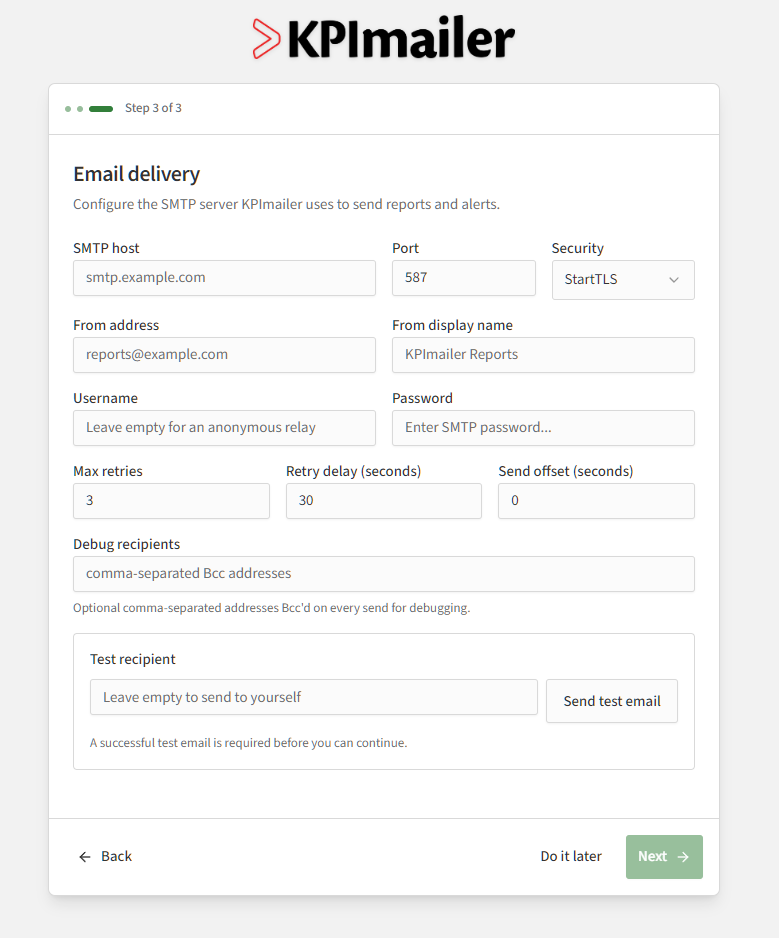
Fill in your SMTP host, port, and security mode, a from address and display name, and the credentials your mail provider requires. Next stays disabled until Send test email succeeds - select Do it later instead if you’d rather configure email afterwards from Settings → Email.
Worked example
Section titled “Worked example”A typical first run looks like this: fill in the company’s details on Step 1 to activate the license, add the on-premise Qlik Sense server on Step 2 and confirm Test connection passes, then fill in the SMTP settings on Step 3 and send a test email to yourself. Once that test arrives, select Next to finish the wizard and land on the dashboard - from there, move on to signing in day to day and creating your first report.