Installing KPImailer
Installs KPImailer on a Windows server as a self-contained appliance, with its own database, scheduler, and web application.
Before you start
Section titled “Before you start”- A Windows Server machine (or Windows desktop for evaluation) that can reach your Qlik Sense environment and an SMTP server.
- Administrator rights on that machine.
- The KPImailer installer package, provided by Relevance Management.
- Network access from that machine to
https://api.relevance.ro:5001- Relevance Management’s licensing server. KPImailer checks in with it to activate and validate your license. - On-premise Qlik Sense only: if KPImailer runs on a different machine than your Qlik Sense server, the Qlik Sense machine must accept inbound connections from the KPImailer machine on ports 443, 4242, 4243, and 4747. This doesn’t apply to Qlik Cloud connections.
- A Qlik Sense client certificate exported in
.pfxformat from the Qlik Management Console (QMC) - see Exporting a client certificate below. - A Qlik Sense user with a Professional license, dedicated to KPImailer, with the RootAdmin role assigned - the service account KPImailer uses to manage tasks and read every app on the server.
- A server sized for both Qlik Sense’s own workload and KPImailer’s - see Sizing the server below.
Exporting a client certificate
Section titled “Exporting a client certificate”KPImailer authenticates to an on-premise Qlik Sense server with a client certificate, exported from the QMC on your Qlik Sense server:
- Open the QMC (
https://<your-qlik-server>/qmc) and sign in as a Qlik Sense administrator. - Go to Certificates, then select Export certificates.
- Enter the KPImailer machine’s host name (or FQDN) as the Export for host name - Qlik Sense ties the certificate to that machine.
- Set an Export password to protect the private key (you’ll enter this same password
when uploading the certificate in KPImailer), and choose the Windows file format so
the export includes a
.pfxfile. - Select Export. Qlik Sense writes the certificate files, including
client.pfx, to...\Exported Certificates\<host name>\on the Qlik Sense server. - Copy
client.pfxsomewhere you can reach it from KPImailer, and keep the password - both are needed on the Qlik servers page once KPImailer is installed.
Sizing the server
Section titled “Sizing the server”Qlik Sense itself is resource-intensive, and KPImailer adds load of its own on top of it - running the appliance and rendering/sending reports both use RAM and CPU, especially when several reports run on a schedule. Make sure the machine (or machines, if KPImailer and Qlik Sense are separate) is sized with enough headroom for both, not just for Qlik Sense’s normal usage. Your Qlik Sense administrator can advise on sizing for your app sizes and report volume.
-
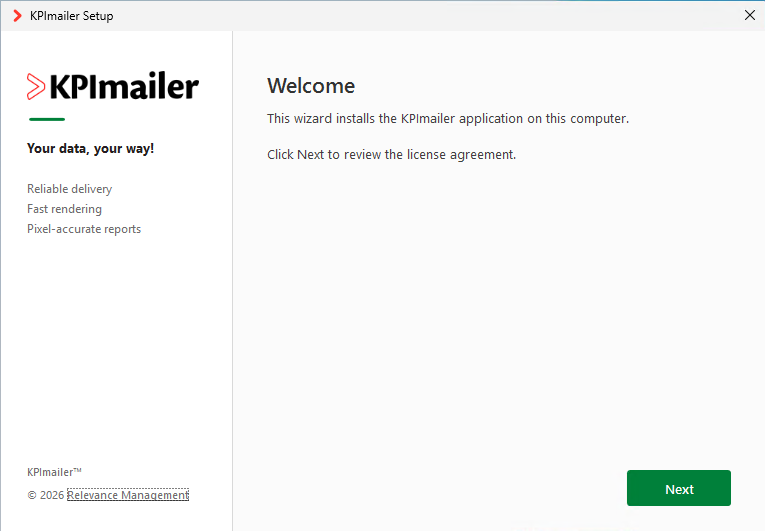
Copy the installer to the server and run it as Administrator.
-
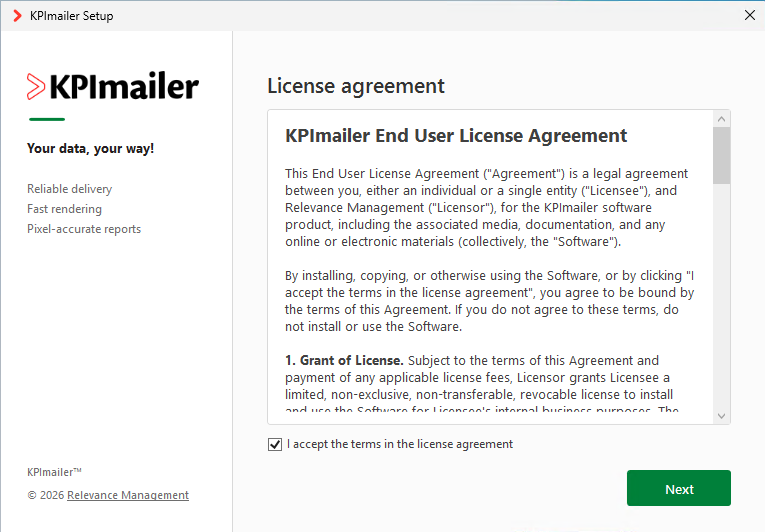
Accept the license agreement. Read the KPImailer End User License Agreement, turn on I accept the terms in the license agreement, and select Next.
-
Choose installation options.
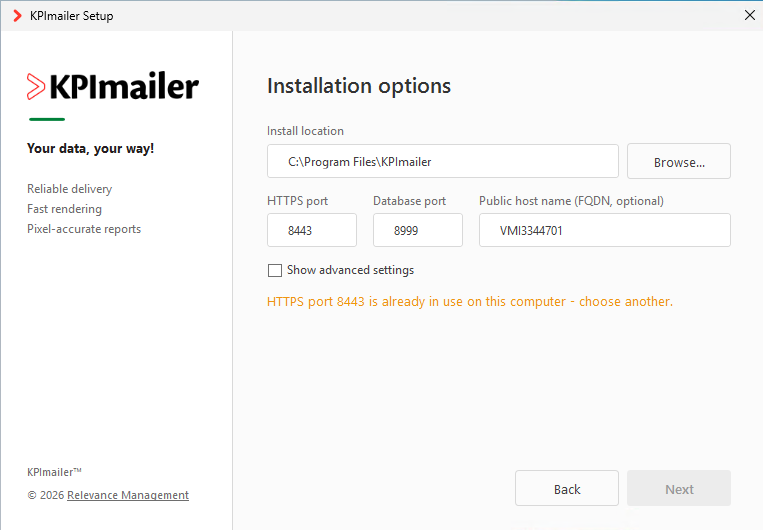
- Install location - where KPImailer’s files are installed; the default is fine unless you manage software locations centrally.
- HTTPS port - the port you’ll browse to the appliance on (default 12199). Port 443 is reserved for Qlik Sense and is rejected; the wizard also checks the port isn’t already in use on this machine before letting you continue.
- Database port - the port KPImailer’s own PostgreSQL database listens on (default 8999).
- Public host name (FQDN) - optional; leave it blank to use the machine’s own hostname (shown as a placeholder), or set it if users should browse to a proper DNS name instead.
- Show advanced settings reveals one more field, Internal service port (default 5002) - used only for KPImailer’s own components to talk to each other on this machine. Leave it at the default unless something else on the server already uses it.
These three ports are local to the KPImailer machine itself, separate from the Qlik Sense firewall ports KPImailer needs to reach a remote Qlik Sense server.
-
Create your administrator account.
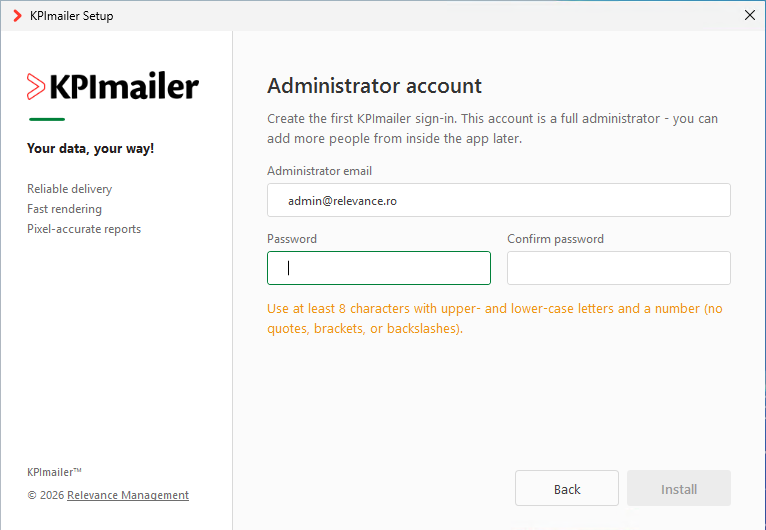
Set the Administrator email and a Password (confirmed by re-entering it) - at least 8 characters, with upper- and lower-case letters and a number (no quotes, brackets, or backslashes). This is a full administrator (“Superuser”) account and the one you’ll sign in with first; select Install once it’s accepted.
-
Wait for the install to complete. A progress screen installs the application, its database, and the background scheduler as Windows services, cycling through a few tips about what KPImailer can do while it works.
-
Finish. Once setup completes, it shows the address to open the appliance at - your chosen hostname (or FQDN) and HTTPS port, for example
https://your-server:12199. Select Open KPImailer to launch straight into it, or Close and browse there yourself later.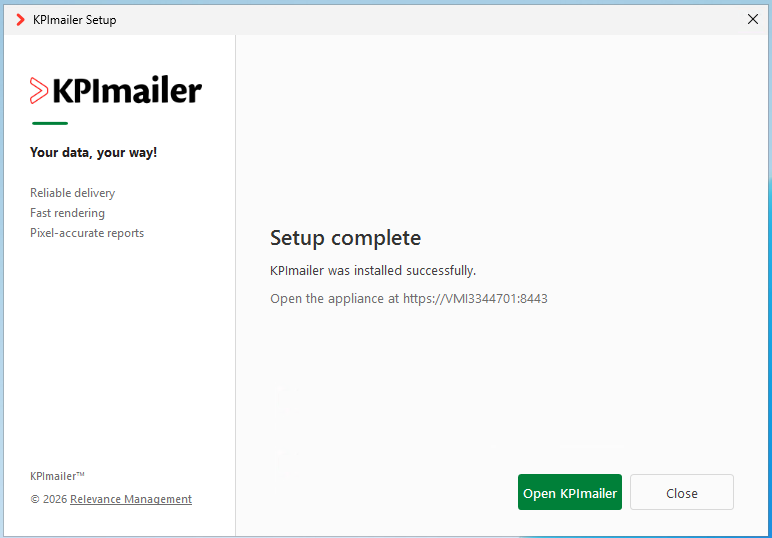
From here, continue to First-run setup to license the installation and connect Qlik Sense and email.
What gets installed
Section titled “What gets installed”Worth knowing for whoever manages the server - firewalls, disk space, and backups all touch what’s described here.
Windows services
Section titled “Windows services”Three services, visible in Windows’ Services console (services.msc). All three start
automatically with Windows and don’t need day-to-day attention:
- KPImailer Engine - the backend API and HTTPS edge that every report, alert, and Qlik connection runs through.
- KPImailer - the web application; the UI you sign in to.
- KPImailer Repository - the bundled PostgreSQL database.
Firewall rule
Section titled “Firewall rule”The installer opens one inbound Windows Firewall rule, KPImailer HTTPS, allowing the HTTPS port you chose through to the appliance. If you later change the HTTPS port from Settings → Network, this rule is automatically re-pointed at the new port when the Engine restarts to apply the change - no manual firewall work needed.
Excel add-in manifest
Section titled “Excel add-in manifest”The installer also writes the Excel add-in’s manifest to the server and registers it via Windows Active Setup, so anyone who signs in to Windows on the KPImailer server gets the add-in automatically the next time they log in - see Installing the Excel add-in for what that means day to day, and how teammates working from their own computer set it up instead.
The Filestore
Section titled “The Filestore”Uploaded and generated files are kept separately from the database, in a Filestore at
C:\ProgramData\KPImailer\filestore:
- Excel template workbooks (
excel-templates/) - the old file is removed automatically whenever a template’s workbook is replaced or the template itself is deleted. - Report attachments (
attachments/) - the Excel/PDF/CSV/HTML files a report run generates. These exist only for the moment it takes to send them: KPImailer deletes each one immediately after that run finishes, whether it succeeds or fails, so nothing accumulates here. - Profile pictures (
avatars/) - replaced in place when someone changes their picture, removed when they remove it or their account is deleted. - Qlik client certificates (
qlik-certificates/) - uploaded on the Qlik servers page. These are small files and rotating a certificate is infrequent, but old ones aren’t automatically removed when replaced or when a Qlik connection is deleted.